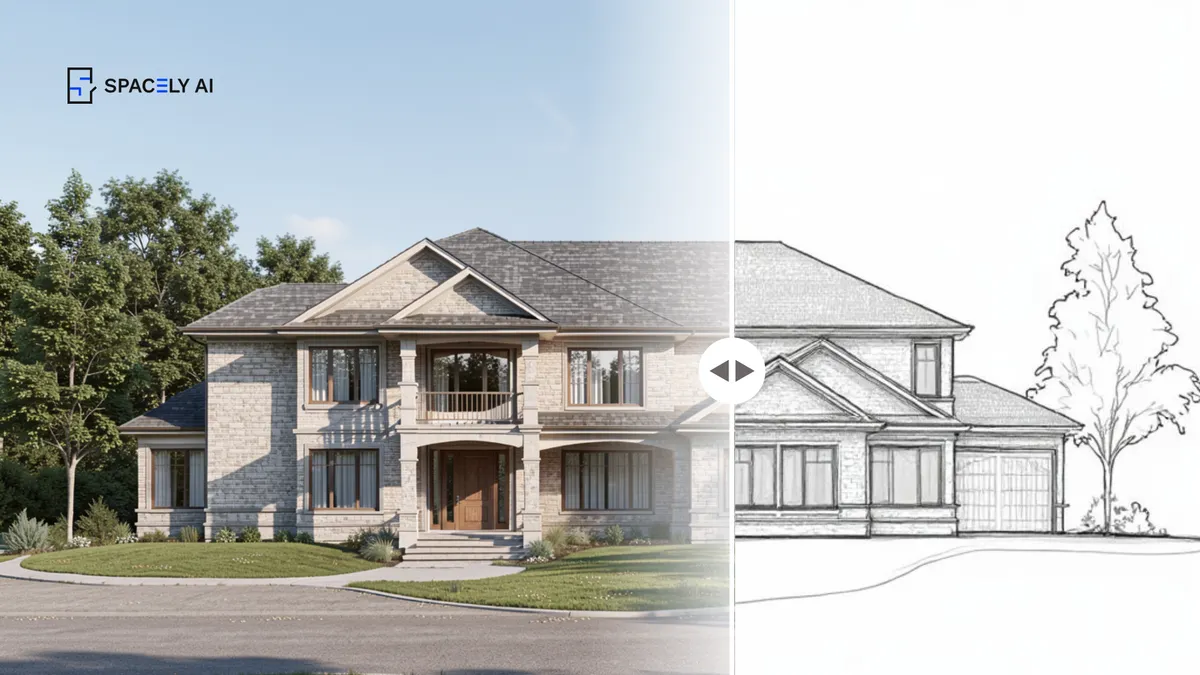
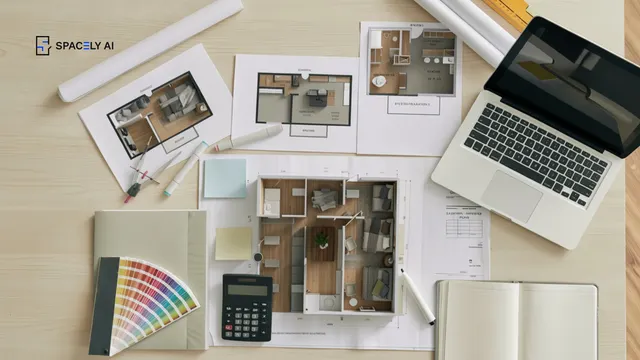
How to fold AI concept rendering into a CAD workflow; where it fits, the model-to-render loop, and how to keep your CAD file the source of truth.
AI concept rendering fits into a CAD workflow at one specific point; the early stage, where you're exploring look and feel before committing to detail — and the way to add it without disruption is to render from a view of your own model, then feed what you learn back into CAD.
The loop is short: model the idea in your CAD tool, frame a view, generate a concept render from it, refine the image, and let it inform your next design move. Crucially, the CAD file stays authoritative for geometry and dimensions; the render is a separate concept image, not a replacement for your model. This is also where the profession already leans on AI most, early-stage visualization, because that's the phase where speed and options matter more than pixel-level precision.
Where does AI concept rendering fit in a CAD pipeline?
Think of a project in stages: concept and schematic design, then design development, then documentation and final visualization. AI concept rendering earns its place in the first stage, where you're testing materials, mood, and massing and want to see several directions quickly.
A traditional render can take days per image, which is fine for a final deliverable but far too slow for exploring ten options with a client. AI rendering compresses that first stage from days to minutes. As the project matures and you need controlled, animated, or dimensioned output, you shift to your CAD documentation and, often, a dedicated real-time or offline renderer.
What does the model-to-render loop look like?
Five steps, repeatable in minutes.
- Model the idea roughly in your CAD tool.
- Frame the clearest view: an exterior or an interior perspective.
- Generate a concept render from that view, naming materials, light, and mood.
- Refine the result with local edits rather than starting over.
- Then carry what the render taught you back into the model.
Because you started from your own geometry, the proportions hold; because the render is separate, you can explore freely without risk to the CAD file. Repeat until a direction earns the move into development.
Through extensions where they exist, and a framed view export everywhere else.
| CAD tool |
How to bring AI rendering in |
Status |
| SketchUp |
Render from the model via the extension |
Extension live |
| Rhino |
Render from the model via the plugin |
Plugin live |
| Revit |
Export/capture a view, or use the extension when it launches |
Coming soon |
| AutoCAD |
Export/capture a view, or use the extension when it launches |
Coming soon |
Where an extension is live, you render straight from the model view. Everywhere else, a captured or exported view works today — the key is that the view comes from your model, so the render stays anchored to your geometry.
When should you hand off to a traditional renderer?
When the deliverable needs control, animation, or dimensional fidelity. AI concept rendering is the wrong tool for a fly-through animation, a construction-accurate visualization, or a scene needing pixel-level manual control of every material and light.
Those belong to a real-time or offline engine and your BIM/CAD model. Use AI to explore and to produce early client-facing concepts quickly; use your CAD pipeline and a dedicated renderer for what has to be exact or animated. The two aren't rivals in a good workflow, they're different stages of it.
FAQ
Where does AI rendering fit in a CAD workflow?
At the concept and schematic stage, where you explore materials, mood, and massing quickly. It compresses early visualization from days to minutes, while your CAD file stays the source of truth for geometry. For final, controlled, or animated deliverables, you move to your CAD documentation and a dedicated renderer.
Does AI concept rendering change my CAD model?
No, when you render from a model view. Spacely AI uses your view or a photo as the reference and returns the render as a separate image, so your CAD geometry and dimensions are never altered.
Do I need an extension, or can I use any CAD tool?
Both work. Spacely AI's SketchUp and Rhino extensions render straight from the model; AutoCAD and Revit support is coming. For any tool without a live extension, export or capture a view from your model and render from that, so the result stays anchored to your geometry.
More design insights on the Spacely AI blog →
Get started
→ Create your free account
→ Watch the full tutorial on YouTube
→ Explore the member plan
For more information and media inquiries, please contact
Website: spacely.ai
Facebook: facebook.com/spacelyai
Instagram: instagram.com/spacely.ai
Email: [email protected]